Supplemental Article - Live Server
The purpose of this article is to concise place going over the usage of the Live_Server Visual Studio Code Extension, first covered in "An Introduction to Displaying Web Pages". Live server is the tool that allows us to see changes as soon as they are done
Usage
Click the Go Live button that has appeared in the lower right hand corner of Visual Studio Code.

When you click this button it should launch a new browser tab as well as changing the icon and text to show a cancel sign and what port it is live on.


Closed browser, or it did not open automatically?
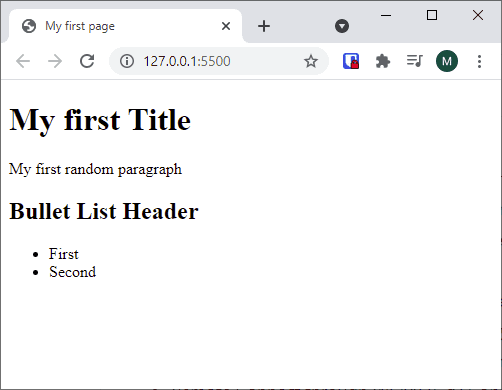
If the server is still running, but you lost lost the page, you should be able to get to it through the browser site http://127.0.0.1:5500/index.html - updating the 5500 to whatever is next to the word Port where the Go Live button is otherwise placed. Or, you may use http://localhost:5500/index.html - localhost is an alias for your computer on the network, usually represented as an ip address by 127.0.0.1.
Installation
In case you are coming back after a while, or on a new computer and need to install, here are the steps for that.
To use this, click the icon that looks like a stack of blocks with one falling on it (called the Extensions button when hovering - it can also be opened through Ctrl+Shift+X), then search live server and hit the Install button.

Tags: Practical Programming, Supplemental, Visual Studio Code Extension, Live Server