Supplemental Article - Git Commit and Push
The purpose of this article is to have a concise place for how to commit changes and then push to git (or GitHub as we are using that service for the tutorials) from the command line or Visual Studio Code directly. It is included here as a common action used, and was originally covered in "An introduction to Web Page Display".
Push from the command line
The simple way to push from the command line is to open the terminal to the folder you are in, and run the following commands.
1git add . 2git commit -m "<DETAILED INFORMATION ABOUT THE CHANGES GOES HERE>" 3git push 4
Push Visually with Visual Studio Code
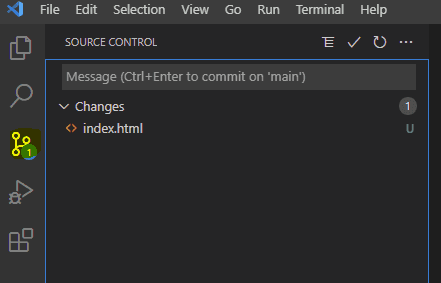
To use Visual Studio Code's built in Source control, click the Source Control button on the side - it has three circles connected by a line. Then, write a message where it says Message, such as "Created Simple Index Page" and either click the check mark or hit Ctrl+Enter

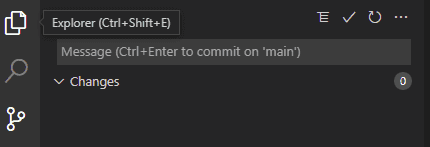
This is the equivalent of the first two git commands we typed earlier. If you were to go to GitHub and check, you will see that nothing has updated there yet, though Visual Studio Code now shows no changes.

To get the changes from our computer to GitHub, we must push them. Either use the ellipsis (three dots) menu and click push or look for the syncing icon on the lower left and click it. Syncing will push and pull changes, meaning if there were changes from another computer they will be pulled in.

Potential Issues
If, at any point, things are not working as planned please check the potential issues article, or search online with the error if it is not covered there.
Tags: Practical Programming, Supplemental, Git Push